Difference between revisions of "FCAL Beamtest Setup Pictures"
From GlueXWiki
| Line 12: | Line 12: | ||
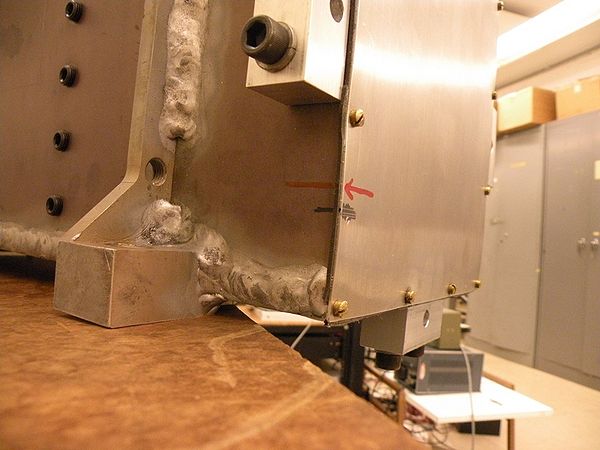
[[File:Detector_back.JPG|600px|thumb|left|Back side of detector, showing end of bases.]] | [[File:Detector_back.JPG|600px|thumb|left|Back side of detector, showing end of bases.]] | ||
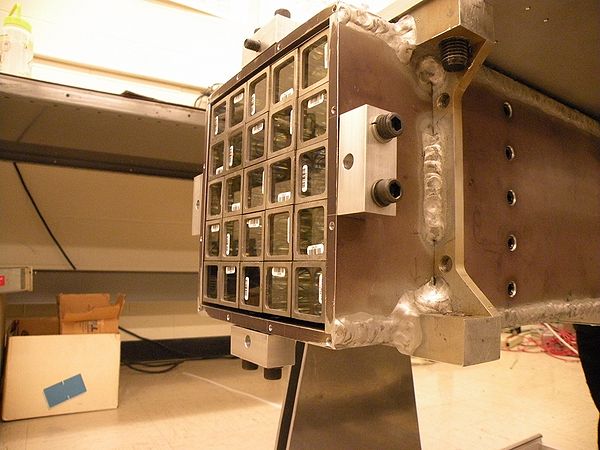
[[File:Detector_front.JPG|600px|thumb|left|Front of detector, showing lead glass modules.]] | [[File:Detector_front.JPG|600px|thumb|left|Front of detector, showing lead glass modules.]] | ||
| + | <br style="clear:both;"/> | ||
== Trigger Box == | == Trigger Box == | ||
| Line 17: | Line 18: | ||
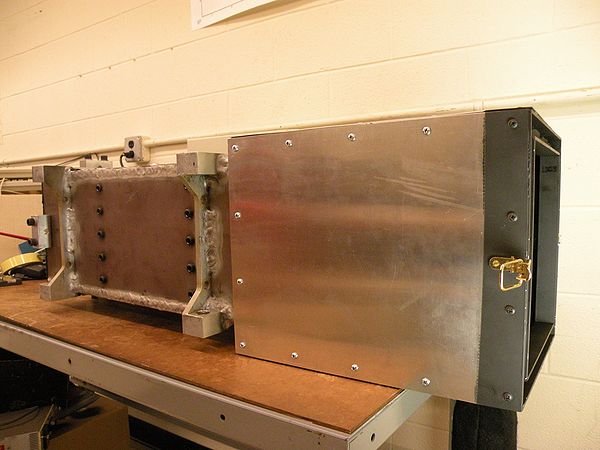
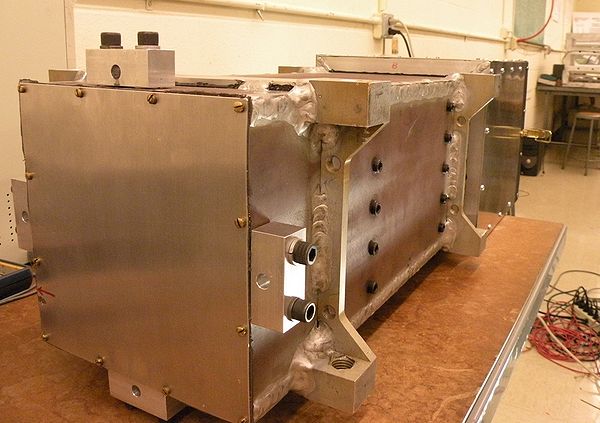
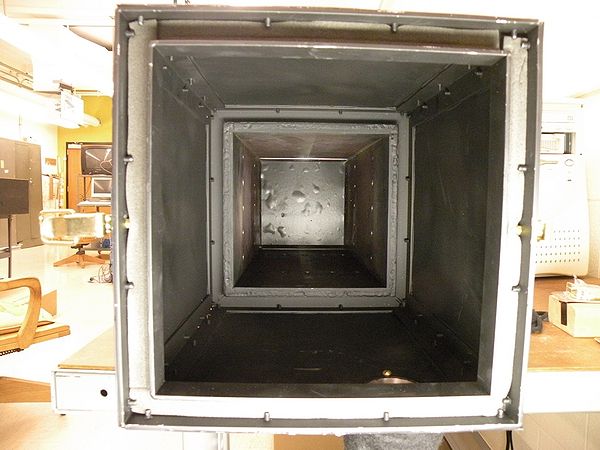
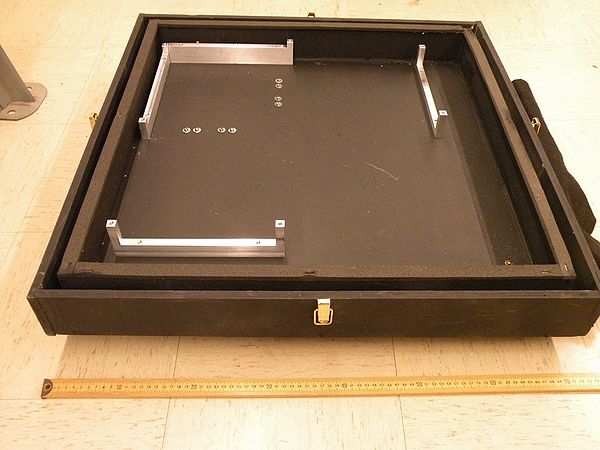
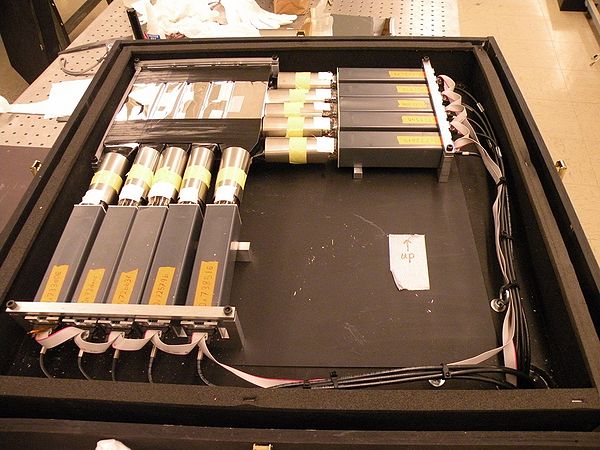
[[File:Trigger_box_with_triggers.JPG|600px|thumb|left|Final layout of trigger box.]] | [[File:Trigger_box_with_triggers.JPG|600px|thumb|left|Final layout of trigger box.]] | ||
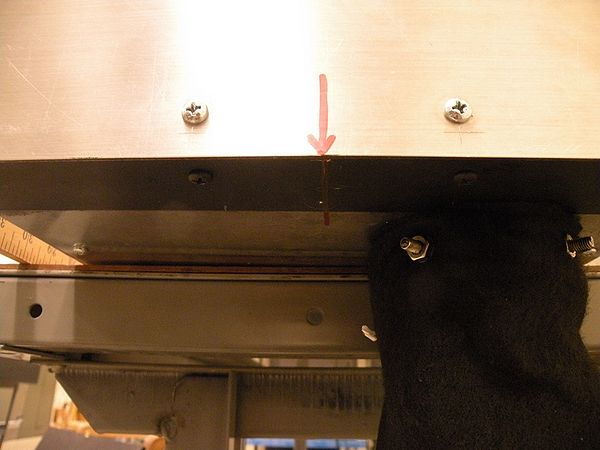
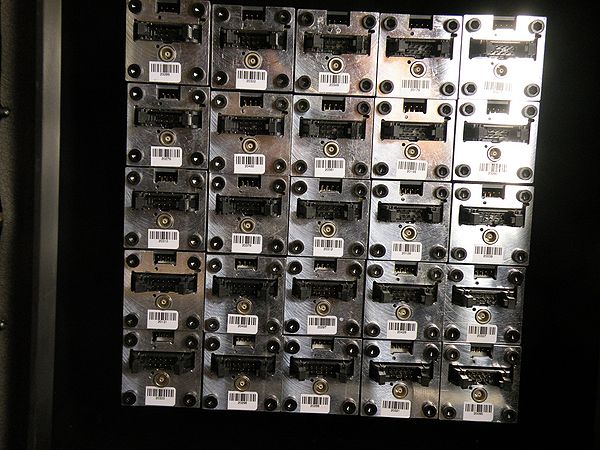
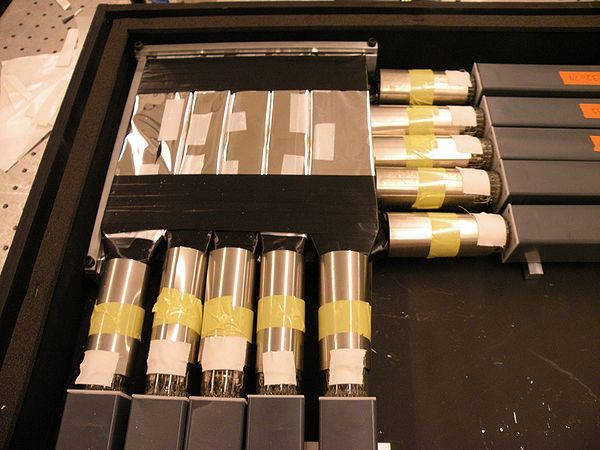
[[File:Trigger_box_upclose.JPG|600px|thumb|left|Upclose view of trigger box.]] | [[File:Trigger_box_upclose.JPG|600px|thumb|left|Upclose view of trigger box.]] | ||
| + | <br style="clear:both;"/> | ||
== Electronics == | == Electronics == | ||
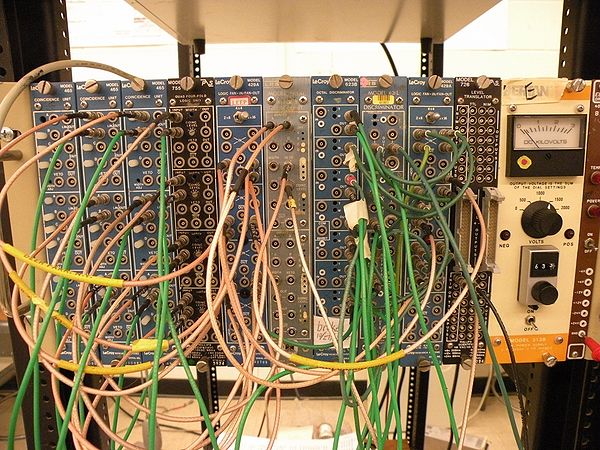
[[File:Electronics.JPG|600px|thumb|left|Electronics for trigger.]] | [[File:Electronics.JPG|600px|thumb|left|Electronics for trigger.]] | ||
| + | <br style="clear:both;"/> | ||
Revision as of 12:20, 3 November 2011
Setup for FCAL Beamtest in Hall B 2011 Fall
(Click to enlarge each image)
Main Detector
Trigger Box
Electronics
