Repairs made to TAGH scintillator counters over the summer of 2019
Contents
Overview
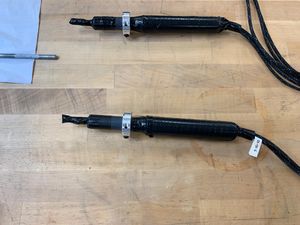
During the second week of June 2019, 5 counters were removed from the TAGH. These counters all had scintillators that were loosely connected to their respective light-guides and were believed to not be functioning properly. The initial 5 counters were the numbers 113, 116, 125, 144, and 161.
Initial State of the Counters
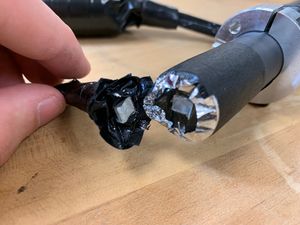
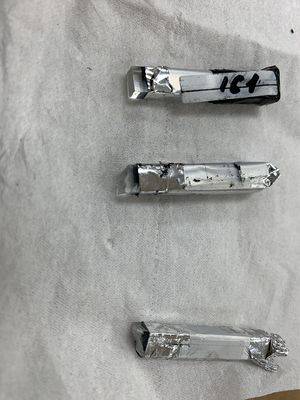
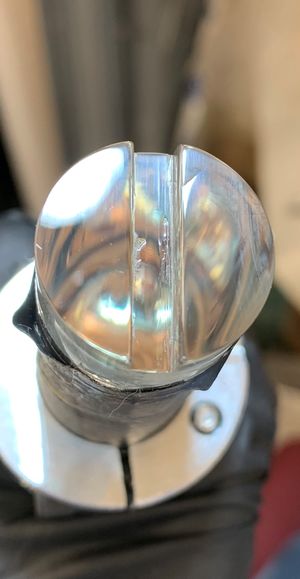
Two of the five counters had scintillators that were broken at the base, as is seen in the picture below. The other three counters had scintillators that were loose and no longer held by the epoxy to the light-guide. These damages are thought to be the result people bumping into them and not putting the protective caps over the scintillator part of the counter.
Scintillators
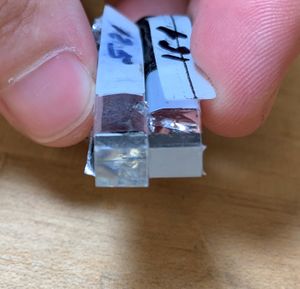
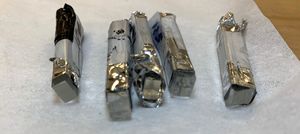
Scintillators were wrapped in mylar and then in electrical tape. Numbers 125, 144, and 161 were loose from their respective light-guides, while 113 and 116 had there bases broken off and still in the epoxy.
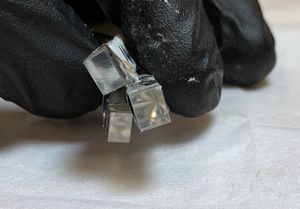
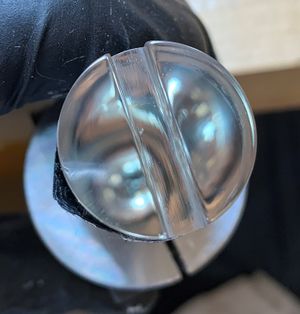
A white film, which can be seen in the first image below, was formed over the sides of the scintillators in contact with the light-guides. This film was polished off the scintillators using the same technique for polishing the light guides.
Light-Guides
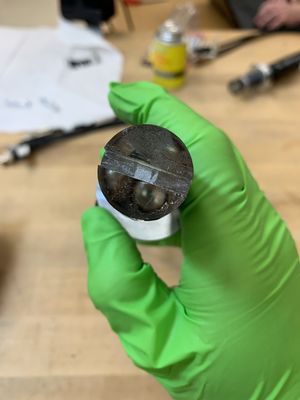
After the electrical tape wrapping and the inner mylar wrapping have been removed off the light guide and the scinillator removed, the epoxy was removed using the following technique:
- first an exacto knife was employed to cut the epoxy off
- a heat gun was used before the exacto knife to allow for easier removal, a problem with this is that the plastic light guide heats up faster and damage to the light-guide may ensue, therefore heat may only be used for very brief periods making sure not to damage the light-guide
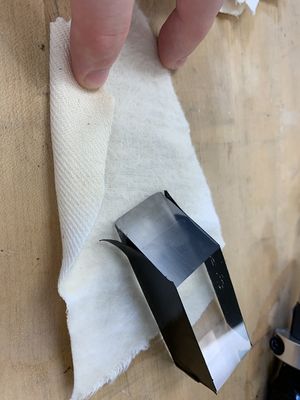
- a glass tool, seen below, was also used to remove the epoxy, this had the benefit of not damaging the surface as much as the exacto knife
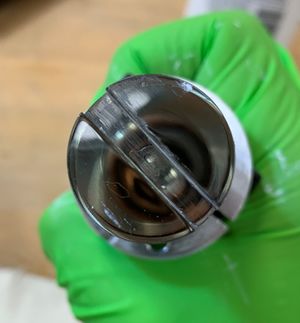
- once only a thin layer of epoxy was left, a fine file was used to get rid of the remaining bit (in hindsight, this is a much more effective technique than the exacto knife and heat gun , as it does not scar the surface nearly as much)
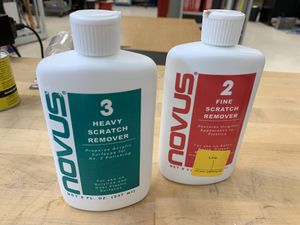
- an acrylic polish, as seen below, was used extensively on the scratches left by the exacto knife and file on the surface of the light-guide
