Difference between revisions of "Procedure installing solid target"
From Hall D Ops Wiki
(→Procedure:) |
(→Procedure:) |
||
| Line 13: | Line 13: | ||
#Take the the target tube with the desired target mounted on the white thiner plastic end. (See a picture of the target tube: [[Media: 04.jpg]]) | #Take the the target tube with the desired target mounted on the white thiner plastic end. (See a picture of the target tube: [[Media: 04.jpg]]) | ||
#Bend the beam line slightly of axis (about 1 degree) to be able to slide the target tube in the target support tube | #Bend the beam line slightly of axis (about 1 degree) to be able to slide the target tube in the target support tube | ||
| − | #Meanwhile, slide the target tube in the support tube (See a picture of the support tube: [[Media: | + | #Meanwhile, slide the target tube in the support tube (See a picture of the support tube: [[Media: target_support_tube.jpg]]) |
Revision as of 17:12, 12 September 2014
Procedure to install/change solid targets
Experts: Matt Marchlik, Alexandre Deur, Tim Withlatch
Two persons are necessary for the task. Ask Tom Carstens ahead of time for the beam pipe vacuum window protective cover.
Procedure:
- If needed, request Radiological survey of the target area
- Remove the beam profiler if necessary
- Put protective cover on the beam pipe vacuum window
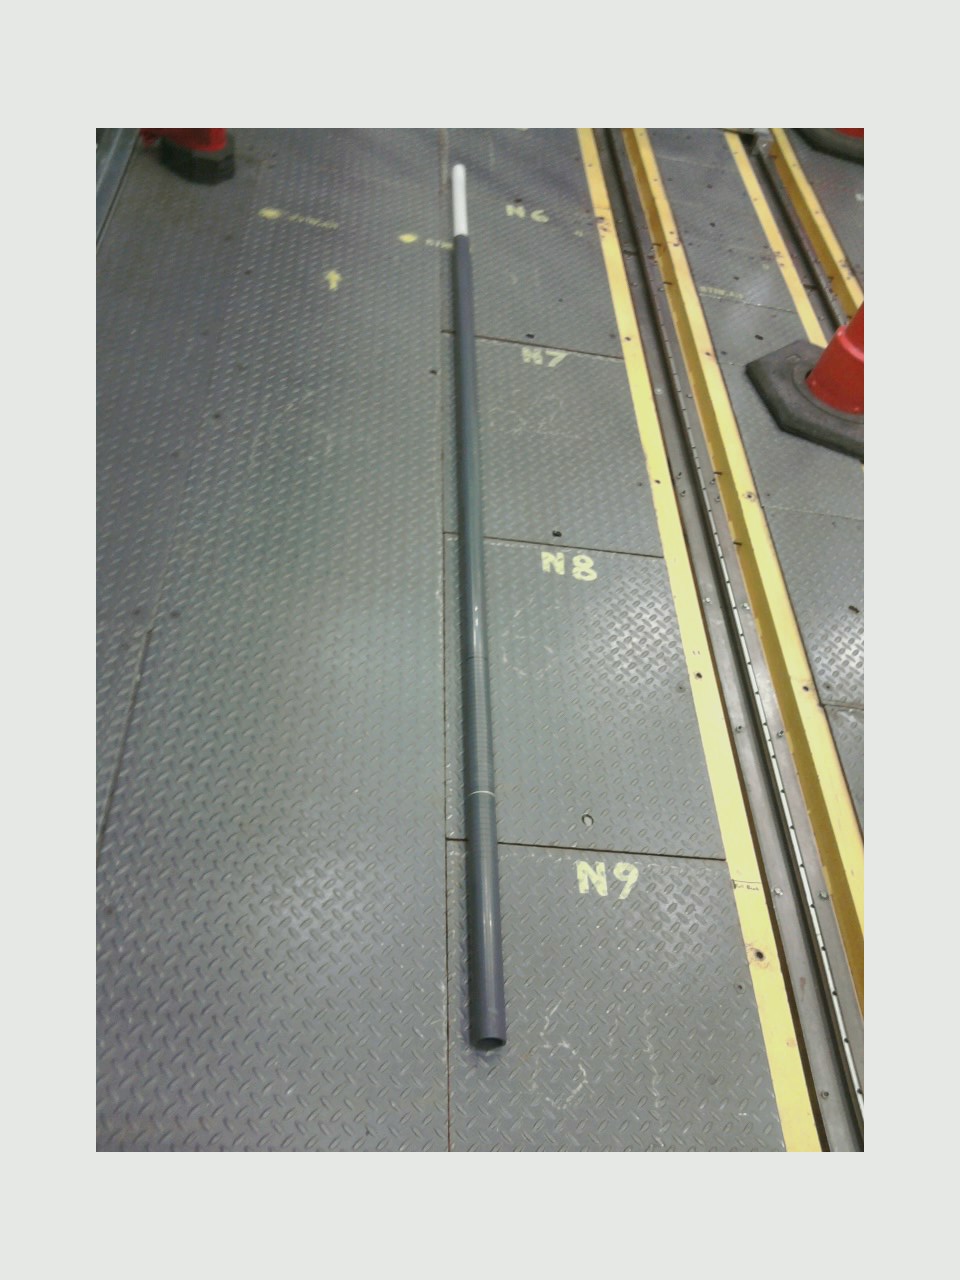
- Take the the target tube with the desired target mounted on the white thiner plastic end. (See a picture of the target tube: Media: 04.jpg)
- Bend the beam line slightly of axis (about 1 degree) to be able to slide the target tube in the target support tube
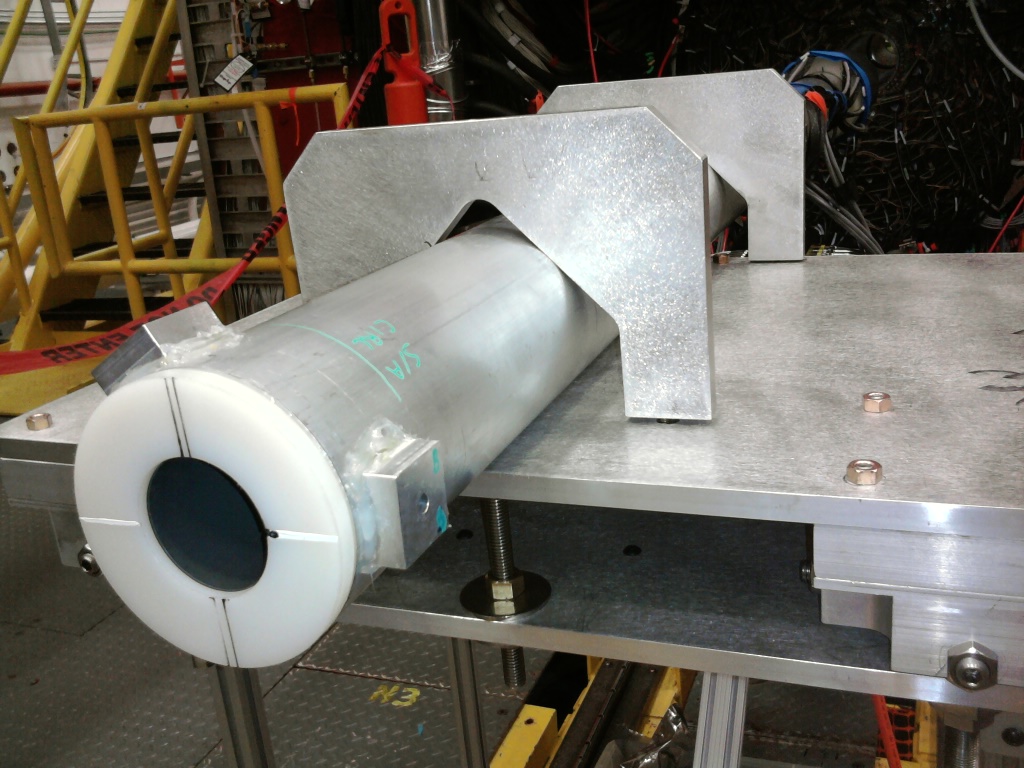
- Meanwhile, slide the target tube in the support tube (See a picture of the support tube: Media: target_support_tube.jpg)