Procedure installing solid target
From Hall D Ops Wiki
Procedure to install/change solid targets
Experts: Matt Marchlik, Alexandre Deur, Tim Withlatch
Two persons are necessary for the task. Ask Tom Carstens ahead of time for the beam pipe vacuum window protective cover.
Procedure:
- If needed, request Radiological survey of the target area.
- Remove the beam profiler if necessary.
- Put protective cover on the beam pipe vacuum window.
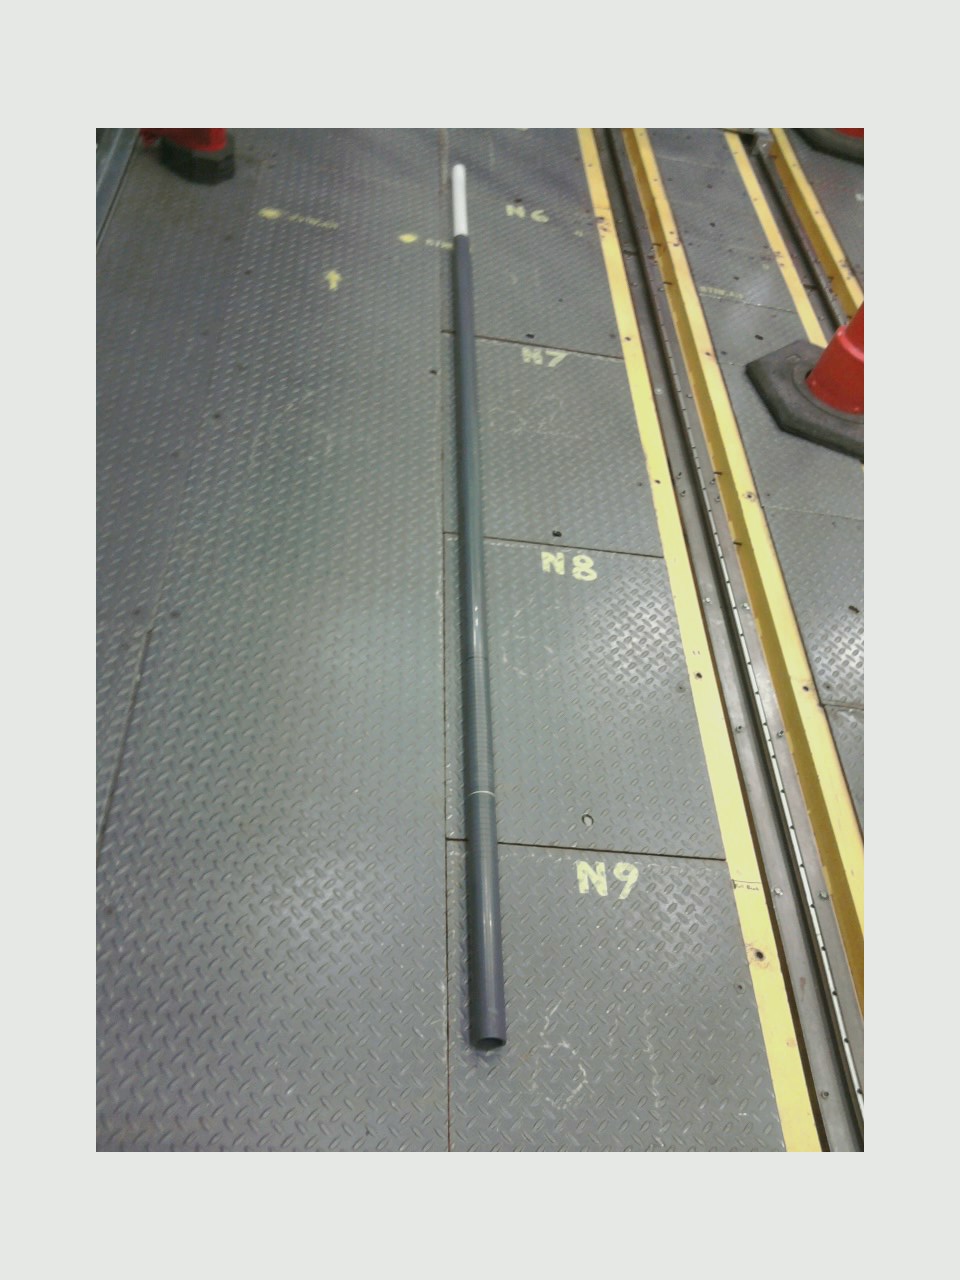
- Take the the target tube with the desired target mounted on the white thiner plastic end. (See a picture of the target tube: Media: 04.jpg)
- Bend the beam line slightly of axis (about 1 degree) to be able to slide the target tube in the target support tube.
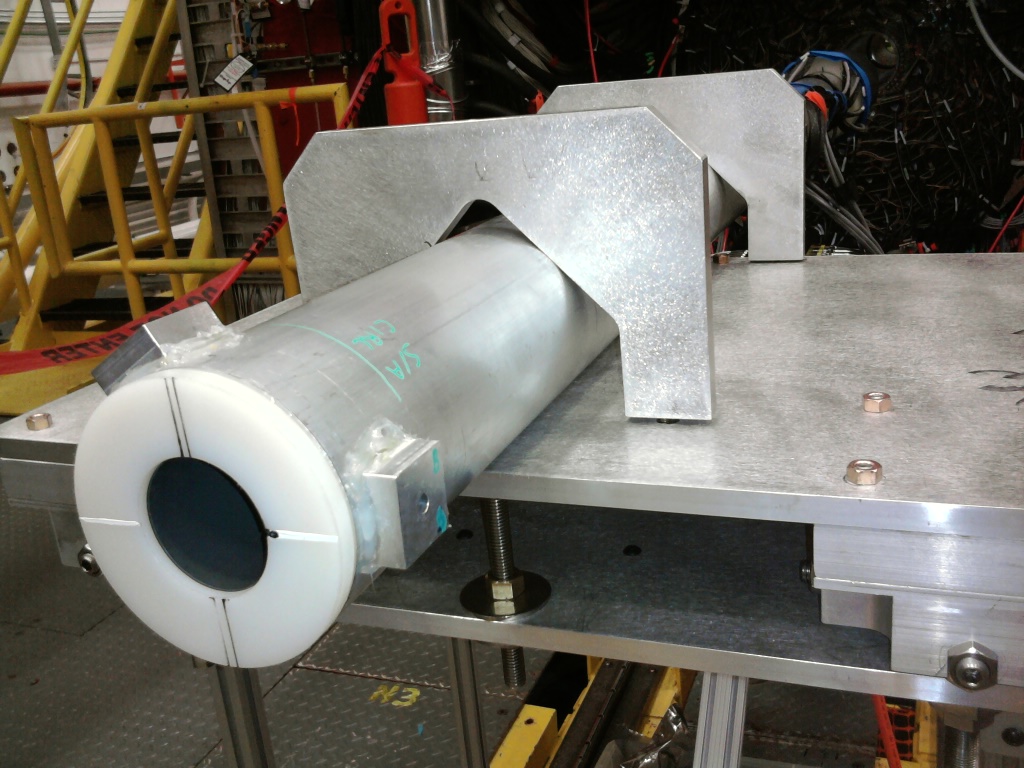
- Meanwhile, slide the target tube in the support tube (See a picture of the support tube: Media: target_support_tube.jpg). Make sure you support it horizontally to not break the thin white extremity of the tube (fragile).
- Slide it up to the nominal target Z-position marked by a white ring painted on the target tube.
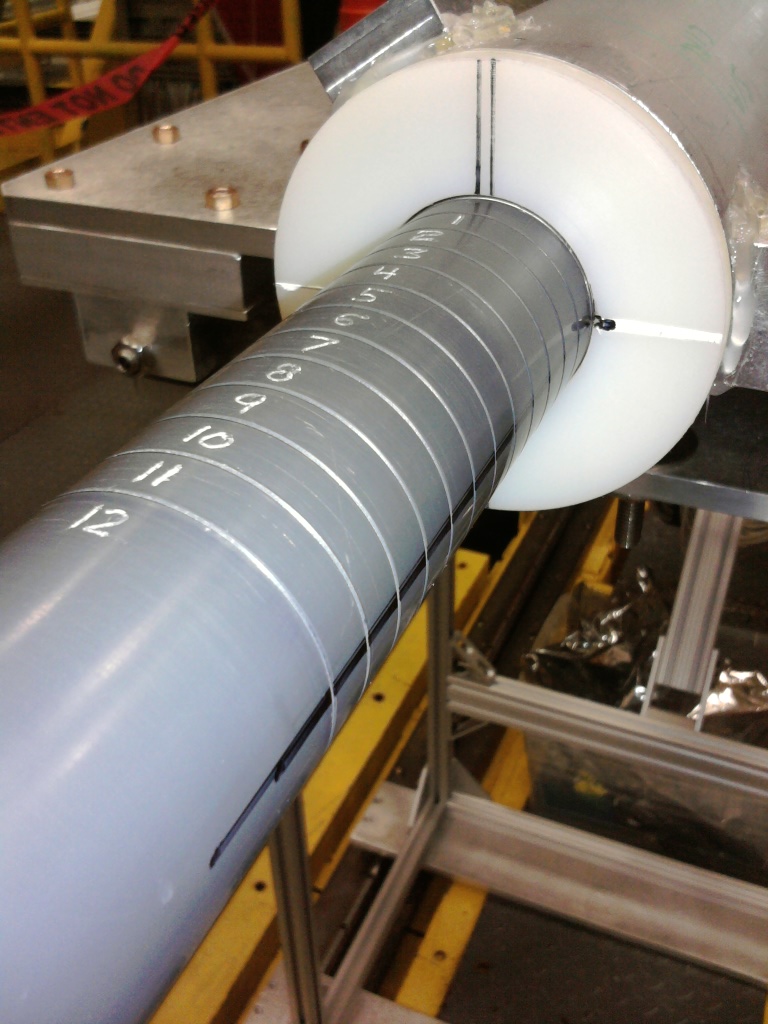
- If the orientation of the target matters (e.g. we are using the Cross target or the Triangle target), align the black line on the target tube to the black line on the support tube. See picture Media: solid_target_alignment.jpg
- Lay back the vacuum pipe into the V-shape support blocks.
- If necessary, Reinstall the profiler.
- Remove the protective cover from the beam pipe vacuum window.